Recording a call
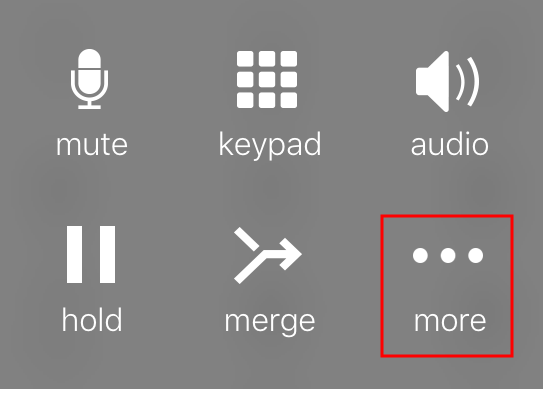
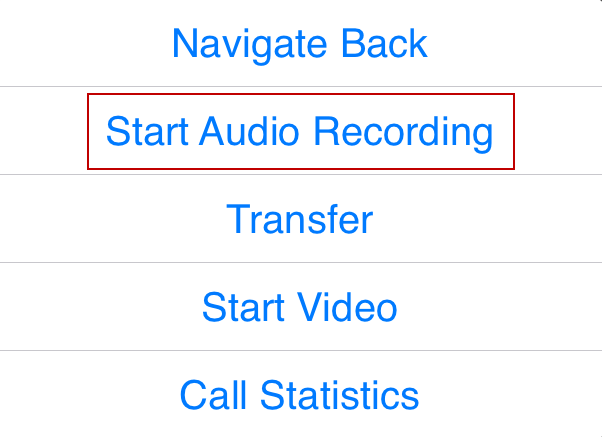
You can record a call and save it locally on your device. You can record a video call, but only the audio portion of the call is recorded.
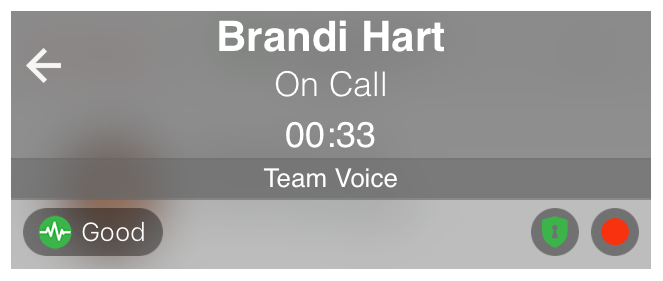
When you start recording a call, Bria plays a call recording tone to the remote party. You can change the preference to play an announcement instead of a tone.
-
Muting a call does not silence the tone.
-
If a call is put on hold (either by yourself or the remote party), the recording is paused. Bria plays the call recording tone to the remote party when the call resumes.
-
Bria stops recording when you are redirecting a call. Bria plays the call recording tone to the remote party when the recording resumes.
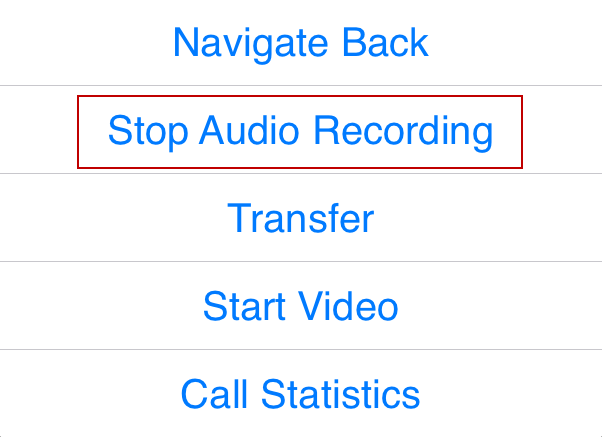
Bria automatically ends the recording when you end the call. To pause the recording, stop recording the call and restart recording the call when you want to resume recording. Bria saves both recordings in one file.
Automating call recording
Under Preferences, users can set the app to automatically record all calls, and/or automatically delete call recording files under some rules. See Preferences for call recording for more details.
Managing a recording
Use the History tab in Bria to listen to, share or delete a call recording. Recordings are stored locally on your device.
There are two ways to access call recording from within the app.
-
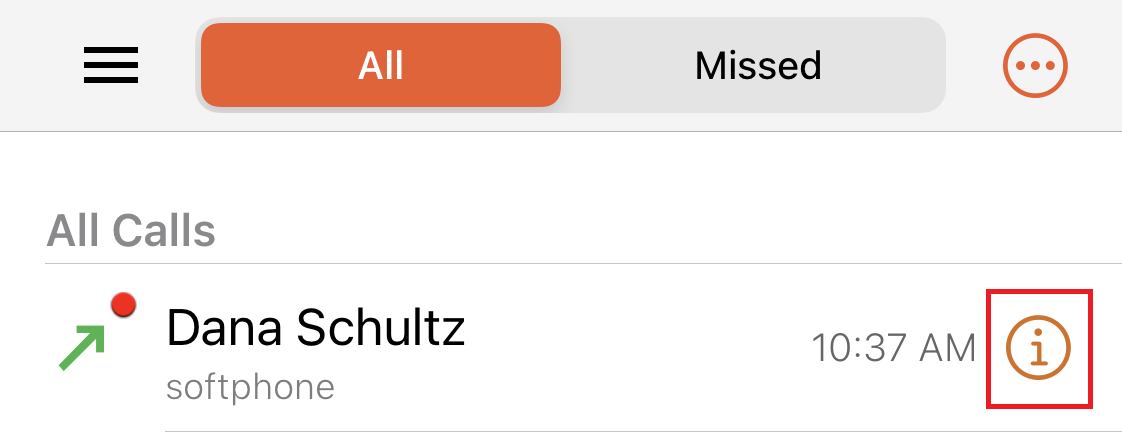
Scroll down the call history, and locate an entry that is marked with a red dot indicator, or
-
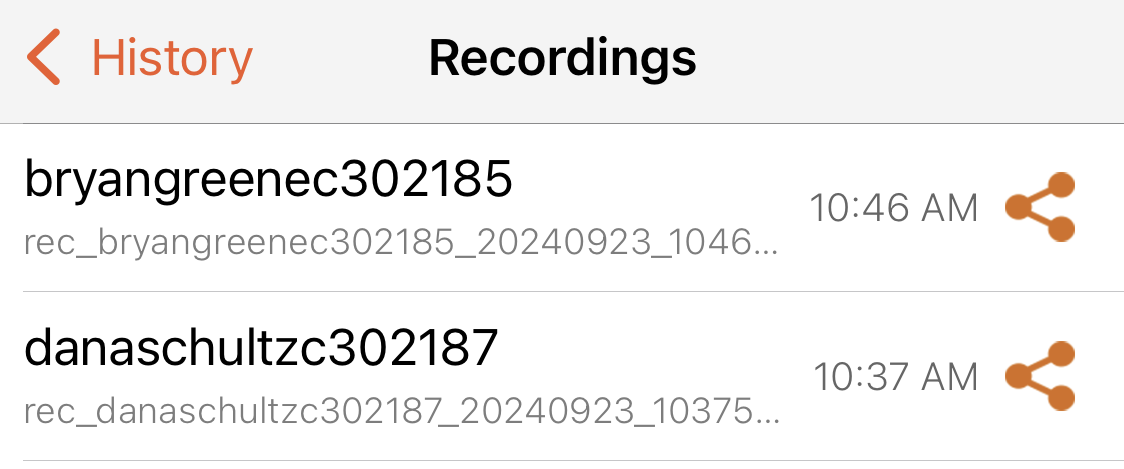
Use the Recordings page that lists all the call recording files stored on your device.
Both ways allow you to listen to, share or delete a call recording. The Recordings page only shows the file names but gives you an easy access to the recordings created a long time ago.
-
Go to the History tab on the resource panel.
-
Tap
 More Info for the call with the call recording indicator.
 -
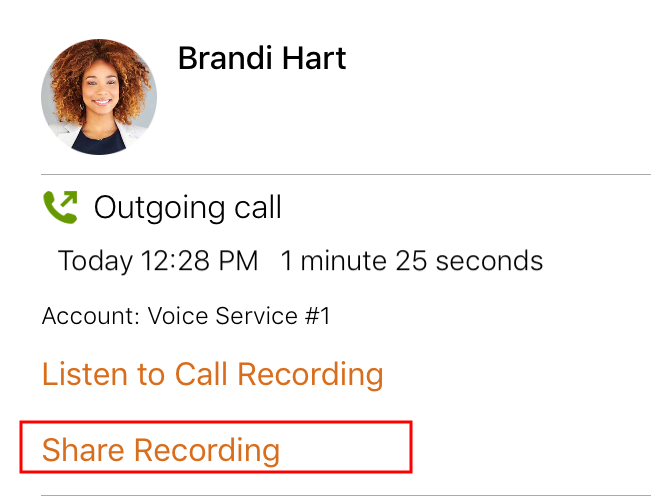
Tap Share Recording.
-
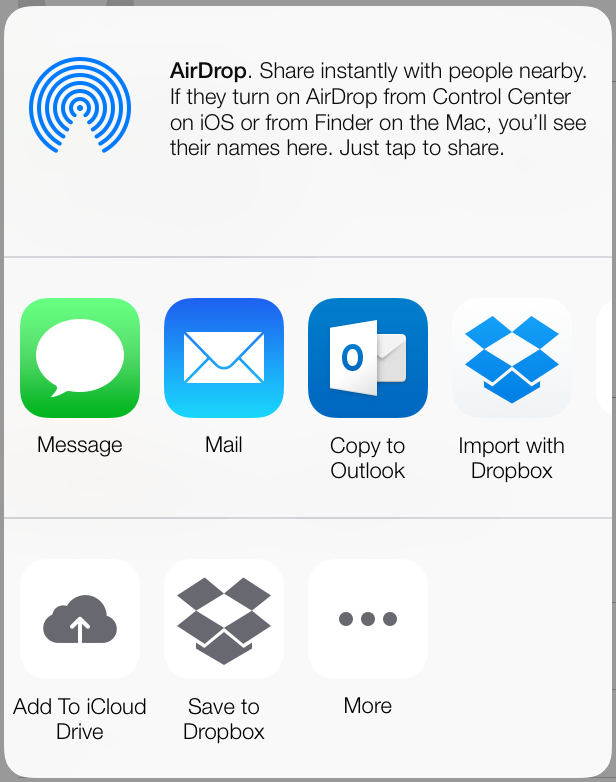
Choose what app you want to use to share the recording. You will see Airdrop, Message, and Mail. You may see additional apps you can use to share a recording depending on the apps you have installed on your device.
Bria opens the app you chose to share the recording. Follow any instructions in the chosen app.
-
Go to the History tab on the resource panel.
-
Tap
 More Info for the call with the call recording indicator.
 -
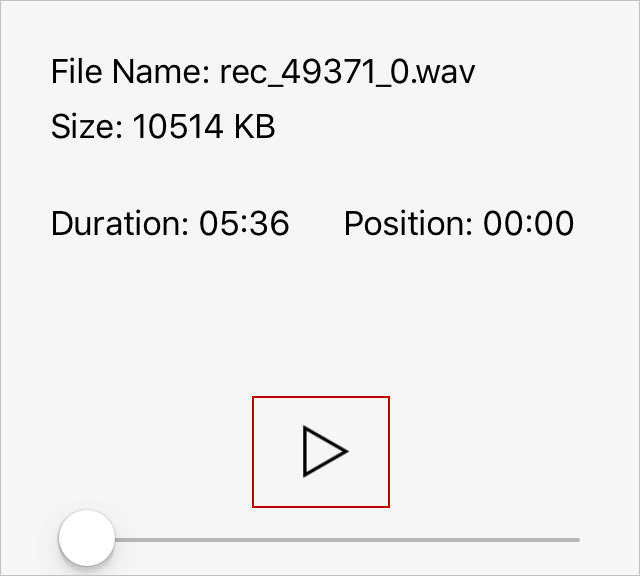
Tap Listen to Call Recording.
-
Tap Delete Recording.
-
Tap Delete.
Bria deletes that call recording. Bria removes the call recording indicator from the call log in History. All other details of the call remain unchanged.
-
Go to the History tab on the resource panel.
-
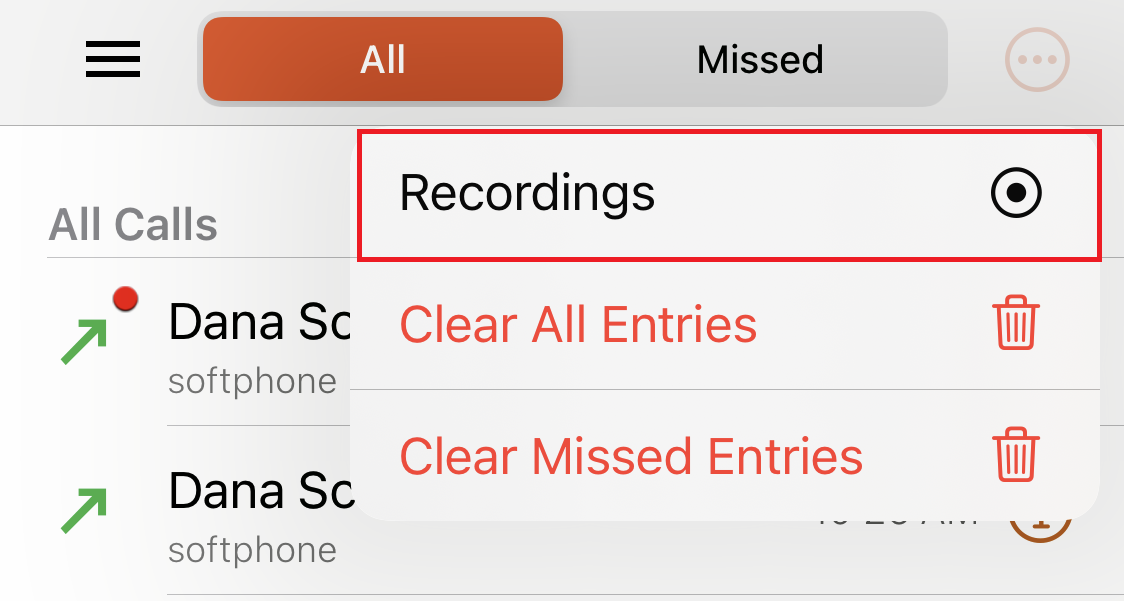
On the top right corner, tap
 More.
More. -
Tap Recordings.
-
Locate the recording in the list.
-
To listen to the recording, tap the entry then tap the Play icon.
-
To share the recording, tap the Share icon in the list.
-
To delete the recording file, tap the entry then tap Delete Recording. Alternatively you can swipe left on the entry in the list and tap Delete.
-
-
If you are deleting, confirm your action by tapping Yes.
Bria removes the file from your device. Bria also removes the call recording indicator from the call log in History. All other details of the call remain unchanged.
-
If you are listening or sharing, choose the app you would like to use if Bria asks you.
-
Give a permission to the app to access photos, media, and files on your device (if required).
-
Use the controls on the app to listen to or share the recording.
You can also manage the recording using the Finder or iTunes® on your computer. See how to use the Finder or how to use iTunes to share files. Call recording files can be found under Files or File Sharing.





 ® logo are registered trademarks of CounterPath Corporation.